

Winter is rolling in, and in many zones, our once-prolific tomato and cucumber plants are well past their prime. While the summer growing season is over, gardens still benefit from a little TLC before the snow falls. Here’s how to prepare your garden for the winter to prepare for next year’s harvest.
Mulch

The cold-weather cycle of freezing and thawing can cause something called “frost heaving,” whereby buried roots get pushed out of the ground. Providing some kind of groundcover keeps the temperature of your garden soil regulated, and protects it from winds and snow during the winter. It reduces germination of weeds in the spring, which means less weeding for you. You can purchase mulch from a garden center, or use a material you already have on hand, like bark, straw, fall leaves shredded with the lawn mower, pine needles and grass clippings — you’ll remove it in the spring to allow new growth to return. After the first frost, apply about six inches of the groundcover over your beds and around perennials, especially around young perennials facing their first winter.
Dig Up and Store Bulbs

Many bulbs that bloom in the spring can make it through the winter, like crocuses, daffodils, hyacinths and tulips. But when it’s time to plant these, it’s time to dig out some others. “Tender” bulbs — many of which are tropical plants that bloom in the summer, like cannas, dahlias, elephant ears and gladiolus — won’t survive a freeze. After frost has browned the leaves of the plant, dig up the tubers or roots within a few days. To prevent damage to the bulb — which can let in disease – dig out the entire plant, leaving a large clump of soil around the bulb. Using a fork rather than a shovel can also help prevent damage.
After digging them out, cut off greenery and remove the soil from the bulb, then let them dry out for about a week indoors out of direct sunlight. Pack the bulbs in a cardboard box, wrapped loosely in newspaper, peat moss, sand, coconut coir, sand, vermiculite, or sawdust so they don’t touch. Store in a place that stays somewhere between 40 and 50 degrees, like a basement, root cellar, or unheated garage. It’s a good idea to label them too so you know what you’re planting come spring.
Bundle Up

Not all plants need to be wrapped up in the winter, but some benefit from it, like young evergreen and deciduous trees. At the end of the winter, intermittent freezing and thawing can split the bark of young trees. Wrapping up their trunks with a crepe paper-like wrap at the beginning of the season can prevent them from injury. Mice and other small rodents love to gnaw at the bark of young fruit trees, so wrapping the lower trunk with a tree wrap designed to keep out pests can keep them protected.
Spread Compost

Late fall is the perfect time to use those veggie scraps and yard clippings that have been decomposing in your compost pile. Before the ground freezes, spread about 3-6 inches of compost over your garden. This helps keep the soil warm, and continues to add nutrients to it throughout the winter, leaving you with a rich, fertile base for spring planting. If you’re planning to mulch, spread the compost first, then add a layer of your mulch material on top to prevent the soil from eroding and weeds from creeping in. There’s no need to fertilize, however — compost is a soil conditioner, but fertilizers won’t do much for the soil besides encouraging growth that’ll just get killed in the cold.
Get Plants in Tip-Top Shape
Trees and shrubs will fare much better in the winter if they’re healthy. Make sure they get plenty of water before the first frost, and use organic material to mulch the soil around their base to protect the roots from freezing. However, don’t prune their branches, as this would expose tissue that won’t have time to heal before it’s cold. Trim back any diseased, damaged, or slimy parts of perennials and other plants so they’re healthy, or pull them up entirely if the problem is extensive in order to prevent diseases or pests from overwintering in your yard.
While you’re at it, it’s a good idea to weed as much as you can in the fall, which will limit the amount of weeds that grow back in the spring. Just make sure to throw them in a separate pile from the compost, as most home compost systems don’t get hot enough to kill weed seeds.
Prune Perennials

Many perennials should be cut back in the winter after the first frost or two, but left about 4-6 inches tall. Because energy from the upper parts of the plant sends energy to the roots to store for the cold months, make sure you aren’t cutting back too early — wait until the first frost that kills off the tops of plants. Some perennials are susceptible to rot and disease in the winter — bee balm and phlox are susceptible to powdery mildew, and bearded iris can host iris borer eggs during the winter. In general, most spring- and summer-flowering plants can get cut back and mulched around the base. However, certain perennials like euphorbia and hellebores shouldn’t be cut back, so make sure to check the needs of your specific plants.
Leave What You Can

Letting some plants be can help cultivate a diverse backyard ecosystem, even in the winter.
Plants with seed heads — like coneflowers, sunflowers, and thistle — for example, can continue to provide food for birds and insects well past their prime. They might also provide a place for some butterflies to lay their eggs, as butterflies choose plants where their young will be able to feed once they hatch.
Keep Up the Hardier Veggies

Winter weather might mean saying goodbye to tomatoes and cucumbers, but many veggies are frost tolerant, and even taste better when grown in the cold weather. Many greens — including Swiss chard, mustard greens, kale, collard greens, and arugula — may grow through cold temperatures above freezing, but some can last through the winter in a cold frame. Root veggies like radishes, onions, kohlrabi, garlic, celeriac, carrots, and beets can also grow right through cold weather.
The post How to Get Your Garden Winter-Ready appeared first on EcoWatch.
https://www.ecowatch.com/home-garden-winter-preparation-tips.html

Just like fashion has been overrun by fast fashion, home goods and furniture have similarly seen a rapid decline in quality. Rugs are no exception.
And similar to fashion, these cheap goods come at a high cost — namely, to the planet and to people. In fact carpet and rug production is rampant with exploitation.
On the other hand, fair trade rugs present the best of what a rug can bring to your home: artistry, craftsmanship, and heritage.
The brands featured in this guide are partnering with (and fairly paying!) skilled artisans who are using generations-old — and sometimes even centuries-old — techniques. These artisans are sustaining long lines of crafts, preserving their cultural diversity, and celebrating the richness of their time-honored crafts.
There’s simply no replacement for a timeless, quality artisan-made rug — they’re like pieces of art you can lay out on your floor or hang on your walls.
So, enjoy browsing through this guide to sustainable rug brands listed out below and best of luck on your search for the right fair trade rug!
Where to Find Ethical and Fair Trade Rugs
Note that this guide includes affiliates and partners. As always, brands must meet high standards for ethics and sustainability to be featured and all opinions are my own.
1. Obakki
Best for: warm-hued handwoven wool rugs
Categories: Area Rugs, Runners, Accent Rugs
Obakki partners with artisan weavers primarily in Oaxaca, Mexico — including individual makers like José — who hand-dyes and weaves rugs on a traditional pedal loom using locally sourced sheep’s wool and natural dyes derived from native plants. The brand also works with Rrres Design Studio, a Latin American studio dedicated to preserving traditional Oaxacan weaving techniques, and sources handwoven textiles from artisan communities beyond Mexico as well, including Morocco.
Each rug is made from 100% wool with no synthetic dyes or backing. Most pieces are made-to-order with a 4-8 week production window, shipped directly from the artisan partners.
Price Range: $460 – $4,159
Conscious Qualities: Natural Fibers, Natural Dyes, Craft Preservation

2. Kiliim
Best for: modern wool kilim rugs
Categories: Area Rugs, Accent Rugs
If you’re well-versed in rug terminology, you may recognize that this brand’s name looks similar to the word kilim.
Kiliim’s rug are made using authentic kilim rug craftsmanship by artisans in Egypt coming from generations of kilim artisans. To ensure ethical production and to support the preservation of this heritage craft, Kiliim pays living wages to all artisans.
Price Range: $95 – $4,812
Conscious Qualities: Ethical Production, Heritage Craft Preservation, Natural Fibers
3. Urban Natural
Best for: browsing fair trade rugs in lots of styles and sizes
Categories: Outdoor, Area Rugs, and Accent Rugs
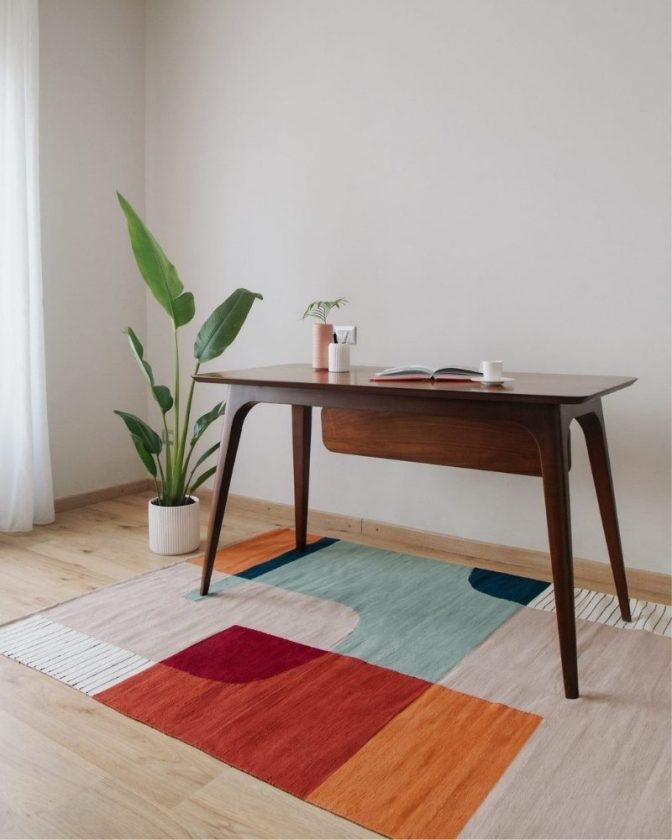
This natural home and lifestyle retailer has a beautifully curated selection of sustainably-made rugs crafted with materials like jute, sisal, wool, and cotton.
Several brands on Urban Natural are also ethically hand-loomed or hand-knotted, such as Loloi — a GoodWeave partner — and Jaipur Living — a brand that partners with thousands of local artisans to sustain heritage crafts.
Price Range: $259 – $9,755
Conscious Qualities: Eco-Conscious Materials
4. LOOMY
Best for: pet-friendly and performance rugs
Categories: Area Rugs, Accent Rugs, Runners, Outdoor Rugs
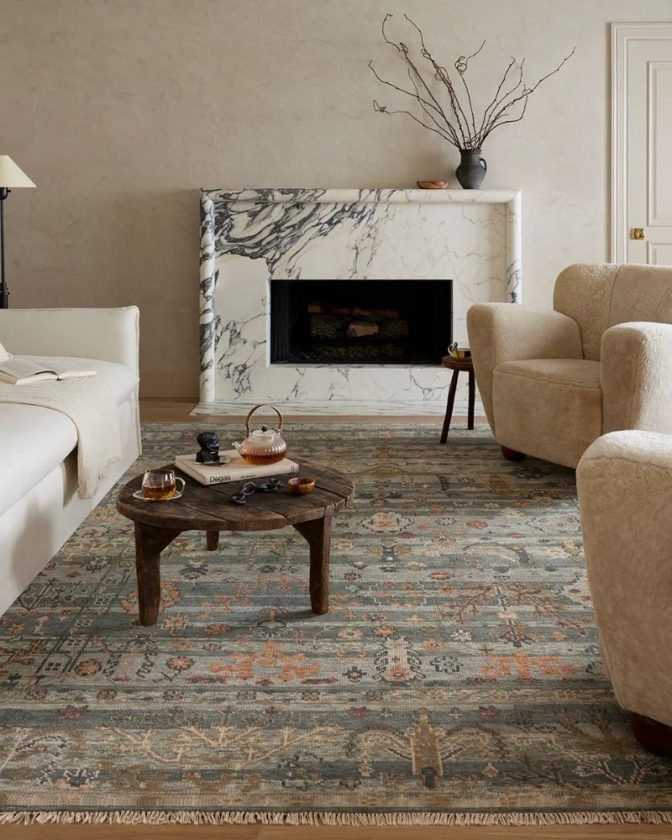
Founded by a weaver, LOOMY is dedicated to crafting beautiful artisan-made rugs that will last for decades to come.
LOOMY partners with highly-skilled artisan weavers who craft quality rugs made from eco-minded materials like banana silk, jute, and recycled cotton, plus performance options made from 100% recycled polyester built to withstand whatever life brings you.
Price Range: $298 – $8,298
Conscious Qualities: Natural Fibers, Craft Preservation, Vintage Options
5. West Elm
Best for: fair trade rugs in on-trend mainstream styles
Categories: Area Rugs, Accent Rugs
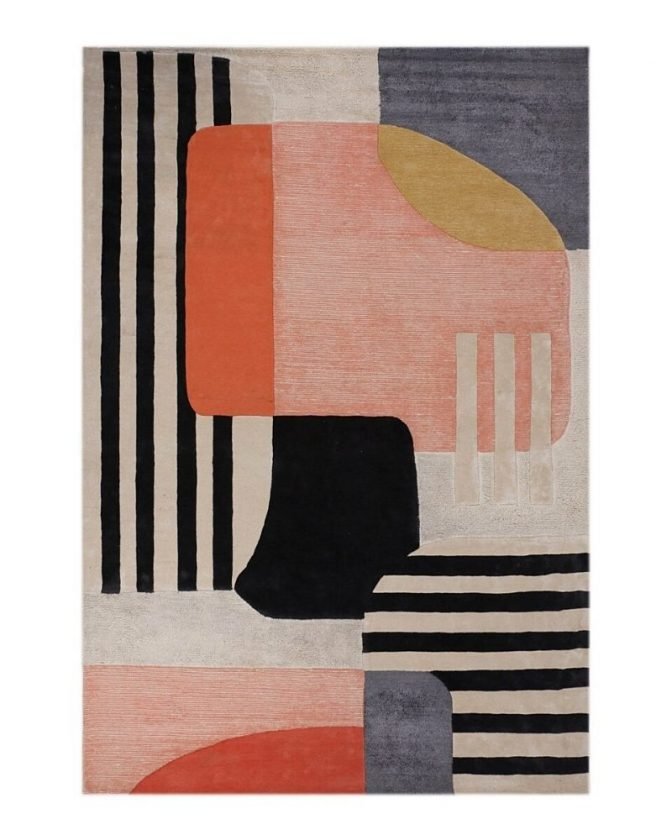
West Elm is bringing ethical rugs to a broader market with their collection of Fair Trade Certified wool and cotton rugs. While I recommend browsing the smaller shops listed above first, West Elm is supporting the movement to responsibly-made, fair trade rugs.
Price Range: $$$
Conscious Qualities: Fair Trade production, Majority Natural Materials
6. Jubi
Best for: Modern rugs in vibrant prints
Categories: Accent Rugs, Circle Rugs, Runners
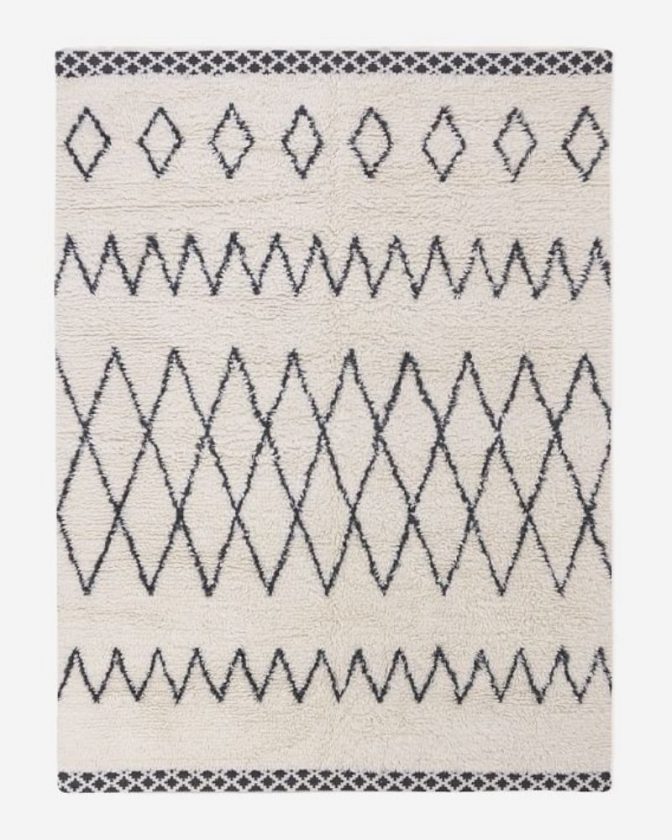
Jubi is a Brooklyn studio founded by textile designer Cassie Dagostino. Every rug is handmade from New Zealand wool by fourth-generation weaving families in Bhadohi, India using traditional techniques. Each rug is made-to-order, meaning no excess stock. Since everything is made to order, expect between 3 and 7 weeks for your rug, depending on the technique used.
Conscious Qualities: Pays Above Market Rates, 100% Wool, Made-to-Order
Price Range: $228 – $668
Shipping: Free worldwide shipping

7. Rejuvenation
Best for: Classic rug styles made in Fair Trade factories
Categories: Accent Rugs, Runners, Area Rugs
Home retailer Rejuvenation has a selection of rugs made in Fair Trade Certified factories. Their collection includes undyed hand-loomed rugs to geometric flatwoven wool rugs. And while I’d typically avoid synthetics, it tends to be unavoidable for outdoor rugs — so Rejuvenation’s Fair Trade 100% recycled poly rug is a good option.
Conscious Qualities: Fair Trade Certified, Mostly Natural Materials
Price Range: $79 – $1,649
Shipping: Contiguous U.S. shipping for 10% of product price (add $20 for HI, AK, and US. territorries)
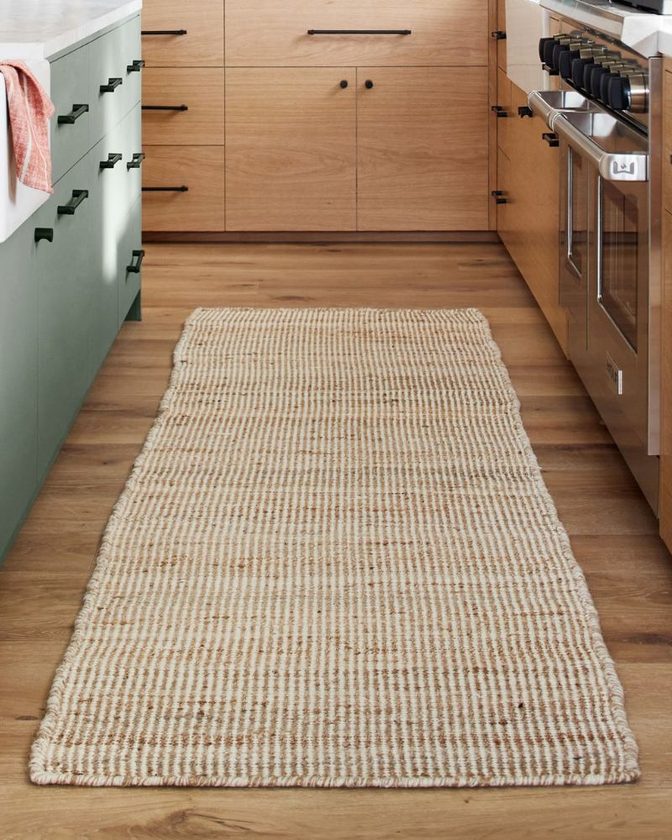
Liked this guide to ethical rugs? You might also enjoy:
Ethical Home Decor Brands to Curate a Beautiful, Conscious Space
Eco-Friendly Furniture to Furnish Your Home Sustainably
Fair Trade and Eco-Friendly Blankets to Cozy Up With
The post 5 Best Ethical Fair Trade Rugs to Elevate Your Space appeared first on Conscious Life & Style.
As a longtime book lover, I may be biased, but I think a full bookshelf is one of the most beautiful additions to a space. There’s nothing better than seeing a showcase of your favorite reads alongside a TBR list.
A bookcase, though, can of course be used for all sorts of purposes from placing your favorite photos of family and friends to showcasing treasured vintage finds.
Whatever the case, this guide will help you find the right sustainable bookshelf for your living room, office, or wherever you like to cozy up with a good read!
So what make a bookcase more sustainable? What makes a bookshelf non-toxic?
First of all: sustainable and non-toxic are two overlapping — but distinct — criteria. And both of those terms can come with a lot of opinions and varying definitions.
When it comes to sustainable bookcases, I look for:
- Responsibly Sourced Materials: most bookshelves are made primarily with wood. While natural, unsustainable wood sourcing can be a cause of deforestation, so we want to see that the wood was from responsibly managed forests or made from reclaimed or repurposed wood. Some bookshelves may feature metal, in which case recycled materials here are important.
- High Quality Construction: sustainability includes longevity — how long will you be able to use that furniture piece before it goes to the landfill and gets replaced? Look for transparency around craftsmanship and woodworking processes. Another sign of quality is the length of warranty a company has for its products.
- Ethically Made: this one is straightforward in theory — were the people making it paid fairly and working in safe conditions? — but is unfortunately not always easy to find information. In this category, I look for transparency in practices, what relationship the brand has with the manufacturer (some produce in-house which is the best case scenario for transparency!), where it was made, and how well the makers were paid.
Ideally a sustainable bookshelf would also be non-toxic — as toxic chemical fumes aren’t exactly sustainable! But this isn’t always the case. For example, if a company prioritizes upcycled materials, they don’t necessarily have control over what inputs were part of the original materials. And sometimes a company focuses more on ethical artisan partnerships and sustainable wood sourcing, more than, say, using non-toxic finishes.
But when it comes to non-toxic bookshelves, this is what I look for. (Note that non-toxic doesn’t necessarily mean safe for all chemical sensitivities. Nor does it mean zero potentially irritating chemicals.)
- Solid Wood (where possible): MDF or pressed wood contains glue to stick the various wood pieces together, which can contain added formaldehyde. I prefer solid wood, or if it is engineered wood, I’d make sure the company is transparent around the type of glue used and/or they at least have a product certification like GREENGUARD. (More on that in a second.)
- Low or Zero VOC Finishes: most wood furniture is completed with some sort of finish to provide a protection against scratches or moisture. Many of these finishes are synthetic, and some can contain high levels of toxic chemicals. Look for a natural finish like linseed oil or beeswax or a low VOC synthetic finish.
Relevant Certifications
You’ll see a few certifications referenced throughout this guide. Here’s what each one covers:
- FSC Certified = the wood sourcing was responsibly managed; this is not a finish, foam, or textile guarantee.
- GREENGUARD / GREENGUARD Gold Certified = the finished product was tested for low chemical emissions, including VOCs, with Gold representing the stricter tier.
- Fair Trade Certified
 = verifies that a factory meets standards for fair wages, safe working conditions, and ethical labor practices.
 - Cradle to Cradle Certified (Gold) = evaluates a product or material across material health, circularity, clean air/climate, water/soil stewardship, and social fairness.
Where to Find Sustainable Bookcases and Shelving
I’m always a secondhand first proponent, and that goes for furniture, too. While your local thrift store might not have used bookshelves, check for dedicated furniture resale shops near you or estate sales. (I use EstateSales.net to find ones near me.) You can also find gently used pieces on online marketplaces like Facebook Marketplace, OfferUp or AptDeco.
If you can’t find something you love secondhand, and you don’t want to DIY your own bookshelf, then the next best choice is to shop from one of the sustainable furniture companies below. (If you’re simply looking for a bookstand, I’d suggest browsing Etsy for a collection of solid wood, bamboo, and reclaimed wood book stands and cookbook stands!)
Note that this guide includes affiliate links, which means we may earn a small commission if you purchase through these links which helps us continue to run this website and create resources like these. As always all brands meet strict sustainability criteria and are brands we love — and that we think you’ll love too!
1. Medley
Best for: low VOC wood bookcases
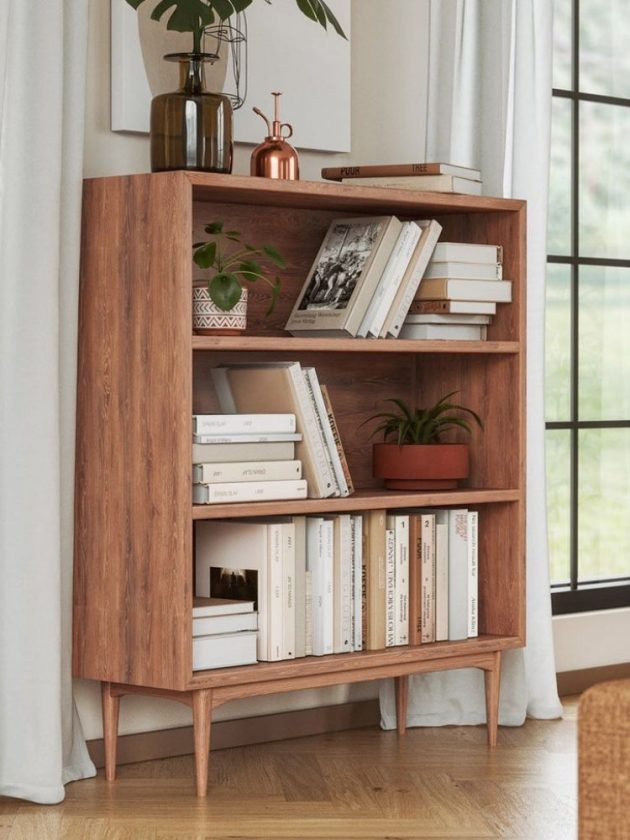
Medley’s bookshelves are elegant and elevated, perfect for a living room. Each piece is made with 100% solid FSC-certified hardwood for the tops and sides, though low-VOC CARB 2 compliant plywood is used for the shelves.
Every eco-friendly bookcase is handcrafted in the US (California or North Carolina) and completed with a low-VOC wood finish.
Price: $2,395 – $2,995
Materials: White Maple, American Walnut Wood
Conscious Qualities: Made-to-Order, US-Made, FSC-Certified Wood, Natural Finish
2. Thuma
Best for: non-toxic modular bookshelf
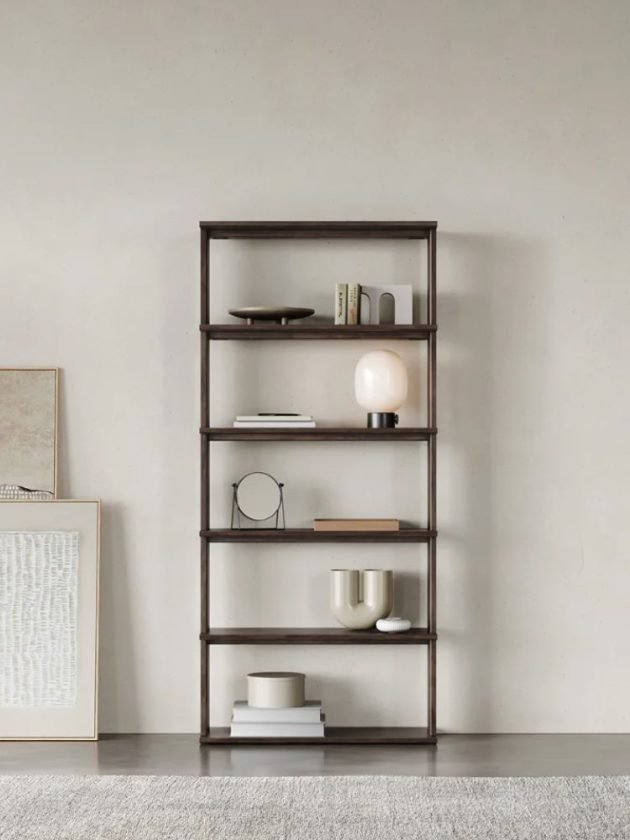
Thuma’s eco-friendly bookshelf is made from upcycled wood sourced from rubberwood trees no longer being used to source rubber. The brand’s bookshelf is also GREENGUARD Gold certified.
What makes Thuma’s bookshelf stand out to me, though, is its modularity — their Pillar Bookshelf can be set in 10 different configurations. And if you start with just a few shelves but later decide you want a larger bookshelf, you can simply buy an additional shelf or two to add on to it!
Price Range: $550 – $3,300
Materials: Upcylced Rubber Wood
Conscious Qualities: GREENGUARD Gold Certified, Repurposed Materials, Adaptable
3. West Elm GREENGUARD Certified
Best for: low-tox bookcases and bookracks for kids
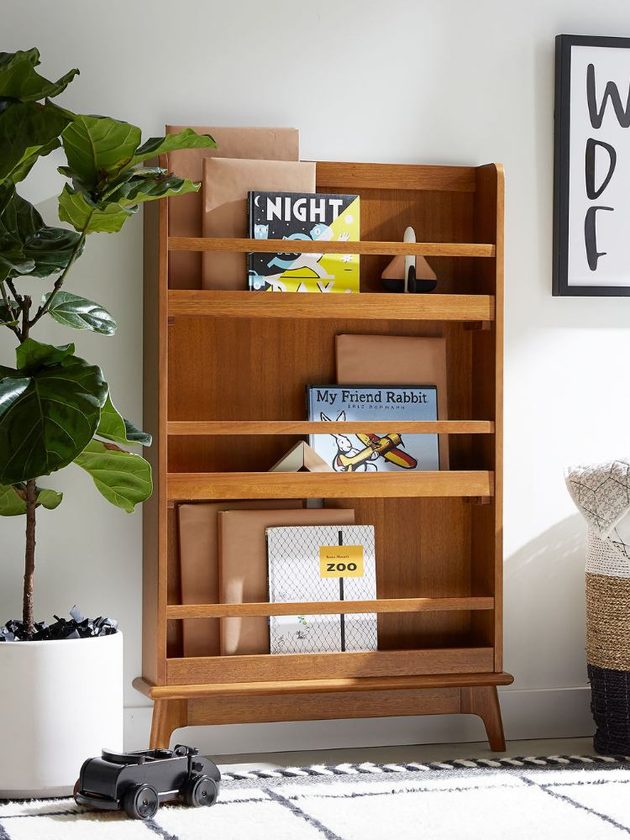
This furniture retailer has plenty of adorable, but functional, bookshelves for a playroom or kids’ bedroom. From cubby bookcases to mid-century bookracks, you’ll find plenty of options that are not only GREENGUARD certified, but made in Fair Trade Certifiedfactories, and/or with FSC-certified wood. Note that the company’s bookshelves are made with engineered wood, though.
West Elm also has GREENGUARD certified bookcases large enough for the adults too!
Price: $399 – $2,897
Materials: Solid Wood, Reclaimed Wood
Conscious Qualities: Fair Trade, FSC Certified, and GREENGUARD Certified Options
4. Urban Natural
Best for: a variety of eco-friendly bookshelves
This natural home retailer has sustainable bookcases in all shapes and sizes. From traditional bookcases to open-back asymmetrical shelving units, Urban Natural has options for any interior aesthetic. Each brand they carry values quality craftsmanship, responsible production, and sustainable sourcing.
Price: $1,099 – $5549
Materials: Solid Teak, Maple, Cherry, Walnut, Birch (varies by brand)
Conscious Qualities: FSC-Certified Options, USA-Made Options, Low VOC Finish Options (varies by brand)