Every home has different setups, so the solar panel installation process also varies from home to home. Here’s a stepwise checklist to help tailor the perfect setup:
Step 1: Assess Your Energy Needs
Before choosing solar panels, look at how much electricity your home uses. Check your electricity bills to calculate your average daily usage in kWh
If you’re planning to expand or add things like an electric vehicle or a home addition, consider how that might increase your energy needs in the future.
Step 2: Evaluate Roof Size and Position
In Australia, your roof’s position and condition matter greatly for solar energy generation. Therefore, while installing the panel, you should consider:
- Roof orientation, as south-facing roofs typically capture the most sunlight.
- Proper tilt and shading for minimal shading from trees, chimneys, or nearby buildings.
- Larger roofs offer more installation space, while older roofs may need repairs, so check the roof size and condition first.
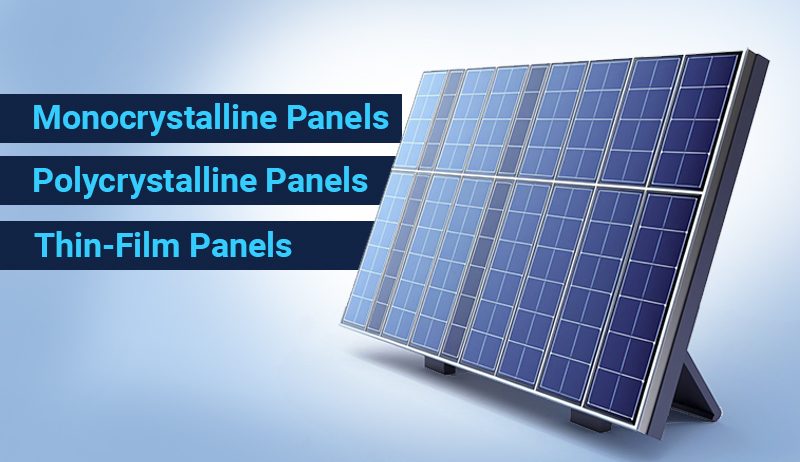
However, if you have limited space, go for high-efficiency monocrystalline panels, and Polycrystalline might be a better value for plenty of space.
Step 3: Set a Budget
Solar Power System prices vary widely from place to place. But with our 440W Tier-1 Panels and 5kW Wi-Fi Inverter in a 6.6kW Solar Power System, you can enjoy the benefits of solar power without a hefty price tag.
Original Price starts from $3,690.00
Cyanergy’s VIC Offer Price starts from $890.00
Original Price starts from $5,770.00
Cyanergy’s VIC Offer Price starts from $2,970.00
Original Price starts from $7,130.00
Cyanergy’s VIC Offer Price starts from $4,330.00
Step 4: Find a Trustworthy Installer & Factor in Rebates
Federal STC rebates and various state-based incentives can save you thousands off your upfront cost, so look for a certified, experienced installer who can help you claim them.